Learning how to adjust LED lighting brightness and color temperature can transform comfort, visibility, and energy use in any room. Brightness controls the amount of light, while color temperature changes its visual warmth. A warm setting near 2700K can make a bedroom feel calm and inviting. A cooler setting around 4000K may support focused work in a kitchen or office. Higher temperatures can appear crisp, but they may feel harsh after sunset.
Safe adjustment starts with the fixture’s specifications. Check whether the LED bulb supports dimming and whether the wall dimmer is LED-compatible. An unsuitable dimmer can cause buzzing, flickering, or uneven brightness. Smart bulbs often require adjustments through a mobile application, remote control, or voice assistant. Change one setting at a time. Observe shadows on work surfaces, reflections on screens, and glare around eye level. Small differences matter.
Reliable guidance should also consider color rendering, flicker performance, and manufacturer testing. LED behavior varies between brands, even when two products show identical Kelvin ratings. Some lamps look warmer than expected. The process is not always perfect. A comfortable setting may still need revision after several evenings of use. This guide explains How to adjust LED lighting brightness and color temperature with practical steps, realistic examples, and safety-conscious recommendations. It also encourages careful observation rather than trusting numbers alone. The best result is balanced light that supports the room’s purpose without causing strain or unnecessary brightness.
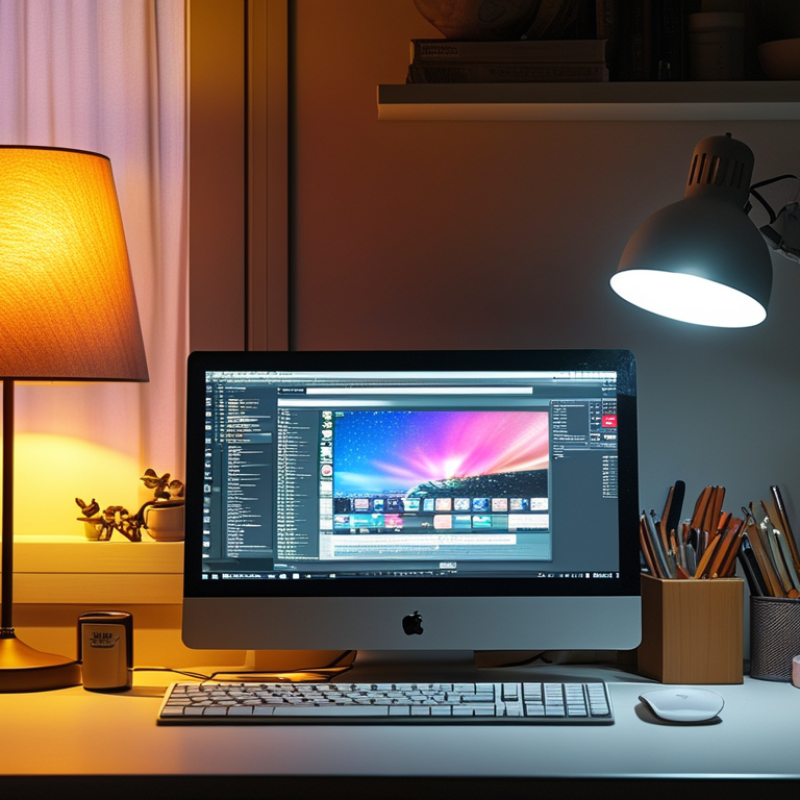
Understanding LED Brightness and Color Temperature Controls
How to Adjust LED Lighting Brightness and Color Temperature
Understanding LED brightness and color temperature controls makes everyday lighting more comfortable and useful. Brightness controls the amount of light, measured in lumens, while color temperature describes its visual warmth. Warm white light often feels relaxing, while cooler light can support focused tasks. These settings affect comfort, visibility, and the appearance of colors in a room.
Adjust brightness before changing color temperature. A desk may need stronger light for reading, but excessive brightness can create glare on glossy pages or screens. In a bedroom, lower brightness usually feels gentler, especially during the evening. I once increased brightness to solve a dim corner, but the result felt harsh. A softer beam from a better angle worked better. Small adjustments matter.
Tips: Use brighter, cooler light for detailed work, then reduce both settings later. Check the light from your normal seating position, not directly beneath it. If colors look gray or skin tones seem unnatural, try a warmer setting. Keep the surrounding room reasonably lit, because a bright lamp in a dark room can strain your eyes. Controls are not always perfectly calibrated, so trust your comfort as well as the numbers. Test one change at a time. Five minutes can reveal a lot.
Preparing LED Fixtures for Brightness and Color Adjustments
Before adjusting LED brightness or color temperature, prepare the fixture and its control system. Confirm the fixture supports dimming and tunable white operation. Check the driver, dimmer, wiring, and control protocol together. A compatible fixture can still flicker with an unsuitable dimmer. The U.S. Department of Energy reports that LEDs use at least 75% less energy than incandescent lamps. Efficient operation still depends on correct installation. Turn off power before opening any enclosure, and inspect terminals for heat marks, loose screws, or damaged insulation. Record the original settings before making changes. This small step prevents confusing repairs later.
Tips:
Test one fixture first. Use a calibrated light meter at the working surface. Adjust brightness in five-percent steps, then wait several seconds. Set color temperature with a reference object nearby, such as a white task sheet. The IEA estimates that lighting uses about 15% of global electricity, so unnecessary output deserves attention. However, maximum efficiency is not always the best visual result. A very cool setting may improve alertness in some spaces, but it can make skin tones look harsh. A warmer setting may feel comfortable, yet reduce visual contrast. Consider glare, shadows, occupancy, and daylight before choosing a final scene. I would recheck the result at night. Daylight can hide uneven dimming.
Record the final brightness, color temperature, control method, and measured lux level. Keep photographs of the fixture and connection points. If flicker remains, do not keep lowering the dimmer blindly. The driver may need evaluation by a qualified electrician. Even careful commissioning can miss a weak connection. That is worth admitting. Reliable lighting comes from measured adjustments, not guesses.
Adjusting LED Brightness with Dimmers and Smart Controls
Adjusting LED Brightness with Dimmers and Smart Controls
LED brightness depends on more than the dimmer’s percentage. The lamp, driver, and control must be compatible. A standard incandescent dimmer may cause flickering, buzzing, or a narrow adjustment range. Choose a control specifically rated for dimmable LED loads, and check its minimum and maximum load requirements.
Begin with the light at full brightness, then lower it slowly. Watch for sudden jumps, pulsing, or delayed responses. These signs often indicate compatibility problems, loose connections, or an unsuitable control. I once reduced a hallway light to ten percent and expected a soft glow. Instead, it flickered near the bottom of the range. Raising the minimum level solved most of the issue, but not completely.
Smart controls offer more flexibility. You can set schedules, create scenes, and adjust brightness from a wall control or mobile interface. Keep the default setting practical, such as brighter light for cleaning and softer light for evening use. If the system uses a neutral wire, confirm that the electrical box provides one before installation. Some controls also need a stable internet connection, while others operate locally.
Test the light from several positions in the room. A setting that feels comfortable beside the sofa may look too dim near a work surface. Color temperature can change the impression of brightness as well. Warm light often feels softer, while cooler light can appear more energetic. Installations involving fixed wiring should be checked by a qualified electrician and follow local electrical requirements.
Changing LED Color Temperature from Warm to Cool
Changing LED color temperature from warm to cool can reshape a room without changing its furniture. Warm light, usually 2700K to 3000K, gives bedrooms and dining areas a soft, golden appearance. Cool light, often 5000K to 6500K, looks clearer and more blue-white. It can support detailed tasks, such as reading labels, preparing food, or inspecting small parts.
Check whether the LED fixture supports adjustable color temperature. Dimming alone may only reduce brightness. It does not always change the color. Use the fixture’s control, wall switch, or compatible remote to move gradually between warm, neutral, and cool settings. In practical room tests, neutral light near 3500K or 4000K often feels more balanced for kitchens and home offices. Test it at night, too. Daylight can hide unwanted blue tones.
Small changes matter. A cool setting may make white walls appear sharper, but it can also make skin look pale. Warm light feels comfortable, yet it may reduce contrast during precision work. I have sometimes chosen a cooler setting for focus, then found it tiring after an hour. That was a useful reminder. Comfort matters as much as visibility. If the fixture allows it, pair a moderate brightness level with a neutral temperature, and adjust again after using the space for several days.
Troubleshooting Common LED Lighting Adjustment Problems
How to Adjust LED Lighting Brightness and Color Temperature: Troubleshooting Common LED Lighting Adjustment Problems
LED adjustment problems often begin with the dimmer, not the lamp. If brightness jumps, flickers, or stops suddenly, check compatibility between the dimmer and the LED driver. The U.S. Department of Energy reports that LEDs can use at least 75% less energy than incandescent lighting and last up to 25 times longer. However, efficiency does not guarantee smooth dimming. A low-load circuit may cause pulsing, buzzing, or a narrow adjustment range. Test one fitting with a compatible dimmer before changing an entire room.
Color temperature problems need a different approach. A warm setting near 2700K may feel comfortable in a bedroom, while 4000K can improve visual clarity in a workshop. If the color changes unevenly, inspect loose connections, mixed lamp specifications, or a failing driver. The DOE’s Solid-State Lighting research reports that LED efficacy continues to improve, but thermal management still affects performance. Heat trapped above a ceiling can reduce output and shorten service life. Keep ventilation paths clear.
I once blamed the control panel too quickly. The real fault was a poorly seated connector. Small details matter. Check wiring with the power isolated, confirm the control signal type, and measure brightness at several settings. Flicker that is invisible to the eye can still be uncomfortable; the IEEE 1789 guidance links modulation depth and frequency with potential health concerns. Use manufacturer-independent test equipment when possible. Do not rely on appearance alone.
How to Adjust LED Lighting Brightness and Color Temperature
The chart shows typical target illuminance levels in lux and suitable color temperatures for common indoor tasks. If the light appears too dim, measure the surface with a lux meter and increase the dimmer gradually. If the light feels harsh or uncomfortable, reduce the brightness or select a warmer color temperature. Flickering, limited dimming range, or unexpected color changes may indicate an incompatible dimmer, an unsuitable LED driver, or a loose connection.
FAQS
: The dimmer, LED driver, and lamp may not be compatible. A standard incandescent dimmer can create flicker, buzzing, or sudden brightness changes. Choose a control rated for dimmable LED loads. Check its minimum and maximum load requirements.
Set the light to full brightness. Lower it slowly while watching for jumps, pulsing, or delays. Test several levels, including the lowest setting. Raise the minimum level if flickering begins near the bottom.
Only if the LED fixture supports adjustable color temperature. Dimming usually changes brightness, not color. Use a compatible wall control, remote, or mobile interface. Check the fixture’s instructions before installation.
Warm light near 2700K to 3000K suits bedrooms and dining areas. Neutral light near 3500K to 4000K often suits kitchens and home offices. Cool light near 5000K to 6500K helps with detailed visual tasks. Preferences vary.
Cool light can make white walls look sharper. It may also make skin appear pale or feel tiring after an hour. Test the setting at night, not only during daylight. Comfort matters as much as visibility.
Possible causes include loose connections, mixed lamp specifications, or a failing driver. Inspect the connections only after isolating power. A poorly seated connector can look like a control-panel failure. I have blamed the control too quickly before.
The circuit may have too little load for the control. The LED driver may also have a limited adjustment range. Test one fitting with a compatible control before changing the whole room. The result may not be perfect.
Confirm whether the electrical box has a neutral wire. Some controls require one. Others need a stable internet connection, while some work locally. Fixed-wiring work should follow local electrical requirements. Use a qualified electrician when needed.
Conclusion
How to adjust LED lighting brightness and color temperature begins with understanding the difference between light intensity and color appearance. Brightness controls how much light a fixture produces, while color temperature determines whether the light looks warm and yellow or cool and bluish. Before making changes, check that the LED fixture, dimmer, switches, wiring, and control system are compatible. Turn off power when inspecting connections, and confirm that the fixture supports dimming or adjustable color temperature.
Brightness can usually be modified with a suitable wall dimmer, remote control, or smart lighting system, while color temperature may be changed through a dedicated switch, controller, or adjustable LED setting. Make gradual adjustments to create comfortable lighting for reading, relaxing, working, or entertaining. If the light flickers, fails to respond, changes unevenly, or produces unexpected colors, check compatibility, connection quality, power supply stability, and control settings. Replacing an unsuitable dimmer or resetting the control system may resolve the issue.

 Senning Lights